The OPPO Reno 3 is the latest premium mid-range smartphone to have launched in Nepal. It is the successor of OPPO’s last year’s Reno 2F that was quite successful here in Nepal. This year’s Reno 3 basically focuses on two things: Looks and cameras. And while the design of this phone, in my opinion, is nothing out of the ordinary, the cameras are something to look out for. So, let’s find out more in our full Oppo Reno 3 review.
Oppo Reno 3 Specifications:
- Display: 6.4″ AMOLED display with Full HD+ resolution (1080 x 2400 pixels)
- Rear Camera: Quad, 48MP primary lens with f/1.8 aperture + 13MP telephoto zoom with 5X hybrid zoom, 30X digital zoom + 8MP Ultra-wide-angle lens with f/2.2 aperture + 2MP mono lens with f/2.4 aperture
- Front Camera: 44MP lens with f/2.4 aperture
- Chipset: Mediatek Helio P90
- CPU: 2 x Cortex-A75 cores + 6 x Cortex-A55 cores
- GPU: IMG PowerVR GM 9446
- RAM: 8GB DDR4X
- Storage: 128 GB
- Software: Android 10 with ColorOs 7 on top
- Battery: 4025mAh with VOOC Flash Charge 3.0 support
- Sensors: Fingerprint (in-display), accelerometer, gyro, proximity, compass
- Colors: Auroral Blue and Midnight Black
- Price in Nepal: Rs, 46,999
Design:
The OPPO Reno 3 has a plastic body surrounded by frames that are plastic too. Because of that, the phone is light and comfortable to use. It’s a tall phone though, no denying that. One of the positives of Reno 3’s design is that it’s proven to be quite durable on my tests. Not that I threw it to check if it shatters, but while using this phone there have been instances when it has slipped from my hands and banged hard on the concrete floor. It’s surprising how well it can take on careless usage.
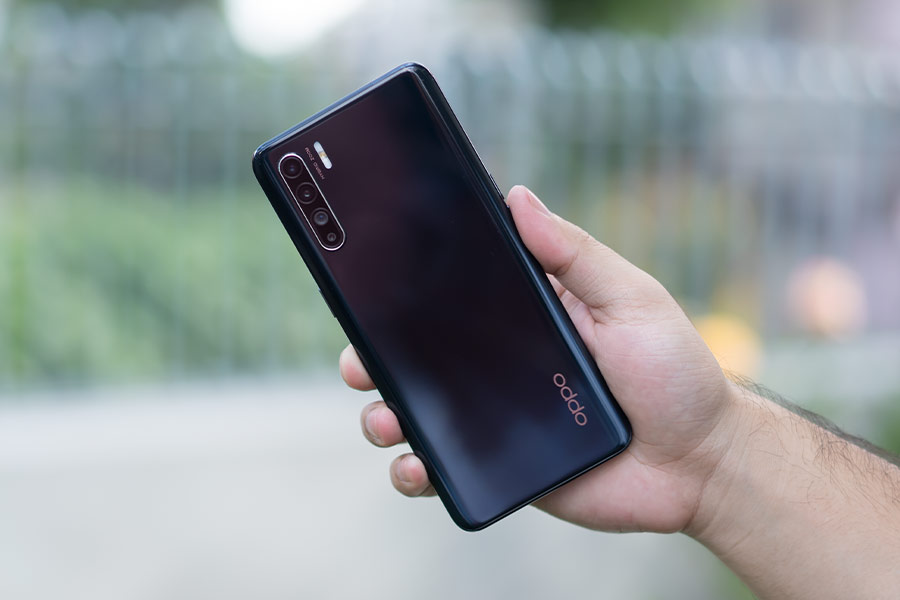
About the looks, it is very ordinary as opposed to other brands that are bringing refreshing designs to the table. Moreover, this glossy finish does not help with smudges at all. This makes me miss the Reno 2 that had a really different looking design language; there was no camera bump and it looked very impressive. So, as a whole, the design is not very appealing while the Galaxy A71 that comes for an almost similar price has a much better-looking design.
Display:
But what meets expectations is the AMOLED display you get on the front of this phone. it’s a quality panel with good colors, contrast, and brightness levels. It also supports HDR video playback. Impressively, the bezels here are quite thin and the little notch on top is unobtrusive too.

With AMOLED display, you get to enjoy the perks of an in-display fingerprint sensor as well, which, by the way, is very reliable and fast even. Similarly, you have a dark mode too, but it is not as optimized as Samsung’s. Still, if you like having a dark theme in your device, you can do that on the Reno 3.
Likewise, you have the flick- free mode that activates while using your phone in low brightness. What it does is help reduce the eye strain and headache caused by PWM dimming.
Cameras:
Another thing to like about the Reno 3 is its cameras. Here, there are 4 cameras at the back. To list them down, you get a primary 48 MP lens, a 13MP Telephoto 2X optical zoom lens, an 8MP ultra-wide lens, and a 2MP depth sensor.
Here, take a look at the shots from the primary camera. They have good details and colors are on point too. Continuing with the primary camera, the colors are not overdone like how it happens with the Samsung Galaxy A71 sometimes. The saturation in the images is more on the natural and balanced side from Reno 3.


Wide-angle images, though, are better on A71. If you look at these pictures, it becomes clear how Reno’s shots look a bit bland in front of the A71. They are not downright bad, but, in comparison, you will get better colors, details, and more wide images from the A71.


But the show-stealer aspect of Reno 3 cameras is its Telephoto lens. Natively, it supports 2x optical zoom, but you can get good results even while zooming in up to 5x. Take this flower image, for example, the details even while zooming in 5x are so good. Even the colors are vibrant and punchy.


As for portraits, we compared the A71 and Reno 3’s images and liked the A71 better, both in terms of subject focus and background separation. But Reno’s portraits are not that bad to complain about, so there’s that.


Upfront, we have a 44-megapixel selfie camera that works impressively. Although it’s evident that the software does a subtle inbuilt beautification itself, it does not make the selfies look bad at all. In fact, the images appear better without looking unnatural.


But if you want to beautify your images on purpose, there is an option for that as well. Another aspect where I found the selfie camera to be commendable is the HDR capability, as it can manage to balance even the most overexposed of backgrounds. So, if you click a lot of selfies, the Reno 3 is an excellent option.
For nighttime photography, Reno does a better job instantly, be it in normal or night mode pictures. Reno 3 manages to make the pictures look brighter and more detailed almost effortlessly.


About the videos, you can only go up to 4k 30fps while shooting. Being the “camera phone” it is marketed to be, it should have been capable of going up to 4k 60 fps.
Having said so, the videos from it are nice. They have good quality, just like the images. There’s an ultra-steady mode that you can turn on to make the videos stable even at 4k 30fps. Natively too, the 1080p 30 and 60 fps videos have good enough stabilization.
Overall, on our tests, we found that Oppo has really well optimized the cameras on the Reno 3. They have good point-to-shoot capabilities and all photography aspects seem to be balanced.
Performance:
The performance, however, is its weak point, especially when you compare it with the competition. It features MediaTek’s 12 nm based Helio P90 chipset along with 8GB of RAM. It’s a mid-range chipset but is not as good as what competitors are offering. For eg, for a similar price, you get the Galaxy A71 with Snapdragon 730G or even the Redmi K20 Pro or the Realme X2 Pro with SD855.
With that, the Helio P90 mediocre performance reflects in real-life usage. The Reno 3 finds it a little difficult to multitask heavily. Even for gaming, playing PUBG in high settings and HD frame rates resulted in stutters and slight laggy experience, while with the Galaxy A71, it did it without breaking a sweat.
For normal usage is no problem whatsoever on this device. Apps open fast and using my daily apps like WhatsApp or Instagram was flawless. So, if you are someone who puts less priority on gaming, the phone should be sufficient.
But, the problem with these mediocre chipsets is Ageing. This means, a top-end chipset would still be performing well, like say after a year, but a mediocre chipset performance might enervate even more as we start to install new updates and our apps become more demanding by then.
In terms of storage, you get 128GB here and for a person like me, that volume of storage is more than enough. You can also expand the storage as Oppo has included a microSD card slot, but it’s a hybrid one so you will have to sacrifice the second SIM slot if that is the trade you are willing to make.
Software and UI:
In terms of software, this phone comes with Android 10 out of the box with ColorOS 7 on top. Frankly, ColorOS is not one of my favorite skins, but the new version has evolved to become better than what it previously was.
And although I am not a huge fan of it, I have found many people to like it. It does have some nifty features like the options to customize how the icons should look like and there’s a smart power saver option to save battery while not interrupting regular usage.
However, what annoys me a little is the fact that you can only dismiss a notification by swiping to the right. Maybe it’s because I still find it difficult to get used to..just putting it out there. About the updates on Reno 3, the security patch here is dated May 2020 which is a good thing.
Extras:
Talking about the extras, you get a good enough single speaker on the Reno 3. It can get plenty loud without getting distorted in high volumes. The audio is not very rich, but it’s good nonetheless. There is also no problem with the audio coming from the headphone jack too.
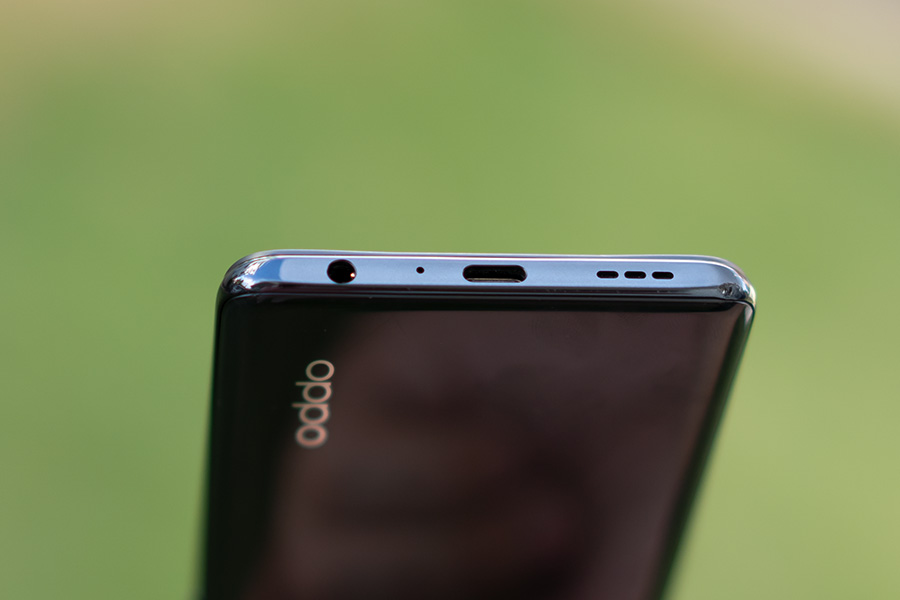
For call quality, Regular and VOIP calls are clear as no recipient has ever complained regarding interruption or echoes. The vibration motor on the Reno 3, however, is subpar, so maybe OPPO could work on that in the next iteration of this device.
The fingerprint sensor is very fast and reliable. The Face-unlock too is fast, although it’s not secure as the fingerprint because of the lack of a dedicated IR sensor.
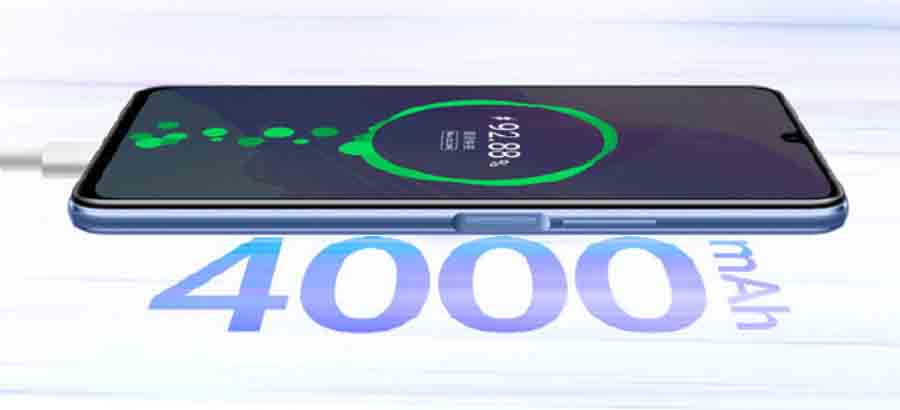
Battery:
Moving on, about the battery, it has a 4,025 mAh cell. Although the size of it is quite standard, the endurance is impressive. Especially, when you turn on the smart saver option. But even without that, it gave me an entire day with moderate to heavy usage.
Charging the battery is fast, as it takes just under 70 minutes to get the phone from 0-100% with its 30-Watt VOOC charger!
Conclusion:
Okay, so how does the Reno 3 fare? For starters, it’s a very good camera phone. If cameras are your priority, this phone is not going to let you down. Similarly, if you are more inclined towards watching video content on YouTube or Netflix, the AMOLED display is going to serve you well.
But again, you also have to consider the competition. Because for almost a similar price, you can get Redmi K20 Pro that offers much better performance. So, in the end, it all depends on what kind of usage you have. If you are a gamer, then Reno 3 is not the ideal device for you. Other aspects, I think the phone covers very well!
OPPO Reno 3 – Pros & Cons
Pros:
- Very good camera performance (both front and back)
- Excellent Display
Cons:
- Average design
- Average performance for price